V-Ray Fog Glass Tutorial | How to Create Coloured Glass in 3DS Max
- lisawolf3
- Aug 17, 2025
- 1 min read
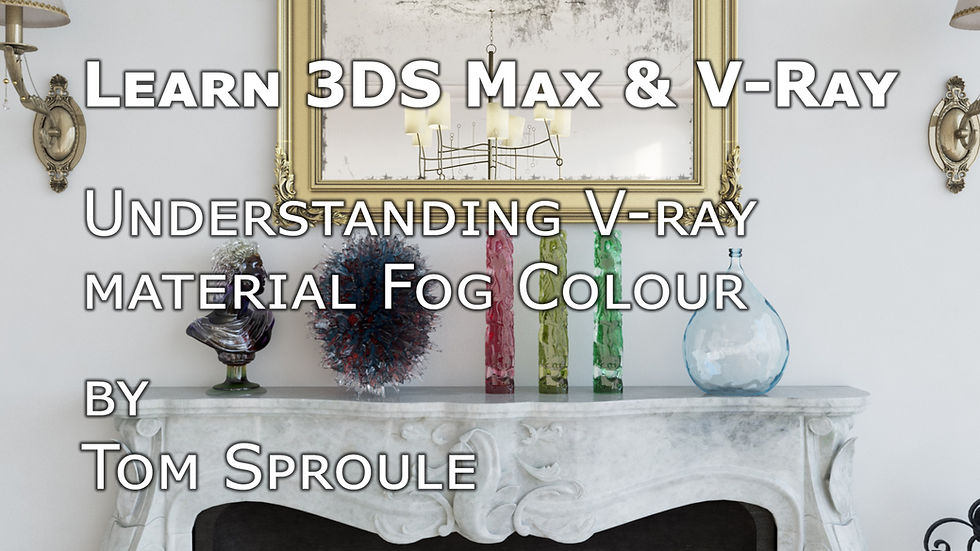
In this tutorial, I show you how to create realistic coloured glass using V-Ray Fog in 3DS Max, perfect for archviz, CGI, and architectural visualization projects.
We’ll cover the four main ways to control V-Ray Fog:
Fog Colour: The darker the colour, the more impact on your glass material.
Bitmap & Procedural Maps: With V-Ray 3.6+, you can insert textures into the fog colour slot for more complex effects.
Fog Multiplier: Increase this to darken your fog and change the material’s look.
Fog Bias: Controls how quickly the glass transitions from light to dark—positive numbers slow it down, negative numbers speed it up.
I provide clear examples of each setting so you can achieve realistic coloured glass materials quickly and easily. This tutorial is ideal for artists looking to enhance their V-Ray glass workflow and improve photorealistic renders in 3DS Max.
Resources Mentioned:
Bercon Noise Maps: https://github.com/Bercon/BerconMaps
Tags/Keywords:
3DS Max V-Ray glass tutorial
V-Ray fog coloured glass
Archviz materials 3DS Max
CGI glass tutorial
Architectural visualization V-Ray
Photorealistic 3D glass
Here's a link to the YouTube tutorial.


Comments