How to Create a Plaster Material in 3DS Max & V-Ray | Architectural Visualization | The Mausoleum – Lesson 08
- lisawolf3
- Sep 2, 2025
- 1 min read

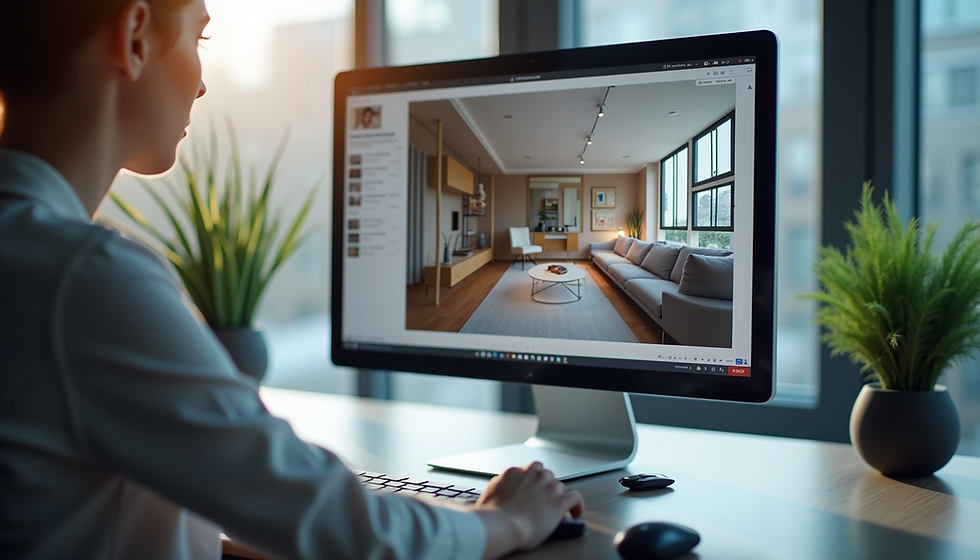
In this eighth lesson of The Mausoleum architectural visualization series, I show you how to create a realistic plaster material in 3DS Max and V-Ray. It’s a straightforward setup, but plaster is one of the most common materials in interior and exterior visualization, so getting it right is essential for believable renders.
I walk through the process of building the texture, adjusting roughness, and applying subtle surface imperfections that bring plaster walls to life. This material is used throughout the Mausoleum project to enhance the realism of the scene.
Resources used so far in this series:• 3D lesson files: Leon51 Training• Plaster texture: Textures.com• Damaged wall textures: Textures.com• Granite texture: Textures.com• Floor tiles texture: Textures.com• HDRI: Viz People – Free HDRI Maps
Here's a link to the youtube tutorial.
At Leon51 we create architectural visualizations, photorealistic rendering, and advanced material creation and we show you how to do the same in 3DS Max and V-Ray to help you achieve professional results in your projects.
Keywords/Tags:
3DS Max plaster material, V-Ray plaster texture, create plaster in 3DS Max, realistic wall materials V-Ray, Mausoleum lesson 08, V-Ray material tutorial, plaster rendering 3D, architectural visualization textures


Comments